Configuring The Private Cloud
When setting up the Private Cloud for the first time and managing it, MAKE SURE TO SAVE ALL CHANGES. Once saved, use the “Refresh” button to see the new settings. If any changes are made to the “Domain” or “Port” settings, new PC data must be exported, and new PC Files must be generated.
Below is a brief description of each of the settings on the Private Cloud settings page.
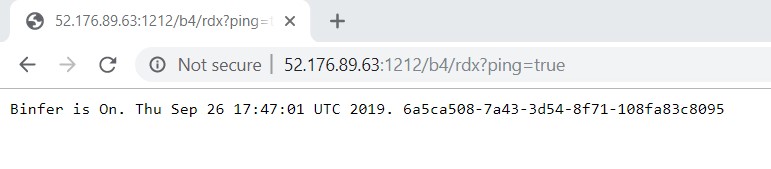
Test URL: Opening this URL from the client will ensure the Binfer Enterprise Sync Server is accessible. If you do not get a success message, please check your firewall settings to make sure ports are open and can be accessed from outside the network. Simply copy and paste the link to any modern web browser on the client. If the client can connect successfully, you will see a message stating “Binfer is On” along with a time stamp.
If you do not get the message below, please check your firewall settings to make sure ports are open and can be accessed from outside the network.
Compression: This feature allows you to provide compression levels between 0-9, where 0 represent no compression and 9 represent high compression. Your value is set to 0 by default. When this setting is changed, it will be applied to all PC members.
Download Location: An option to provide a specific download location. Download location specified during installation will be considered by default. When this setting is changed, it will be applied to all PC members.
Name: Specify a unique name that can be used to identify the current instance.
Domain: If you want clients to access the current instance with a URL instead of an IP address, you can provide a domain name in this field. Please make sure to refresh/login again and you will see the change reflected in the Test URL.
Port: Specify the port through which client can access the current Binfer PC instance. By default, the port mentioned during installation is considered. In most case this setting should never need to be modified.
Export PC Data: This button must be used any time settings are created or modified. Once clicked, it updates the PC files so that the newly generated files will work the new settings. After this button is used, the admin must go to the members tab and generate new access files.